 Image Modified Image Modified
(click to enlarge the picture)
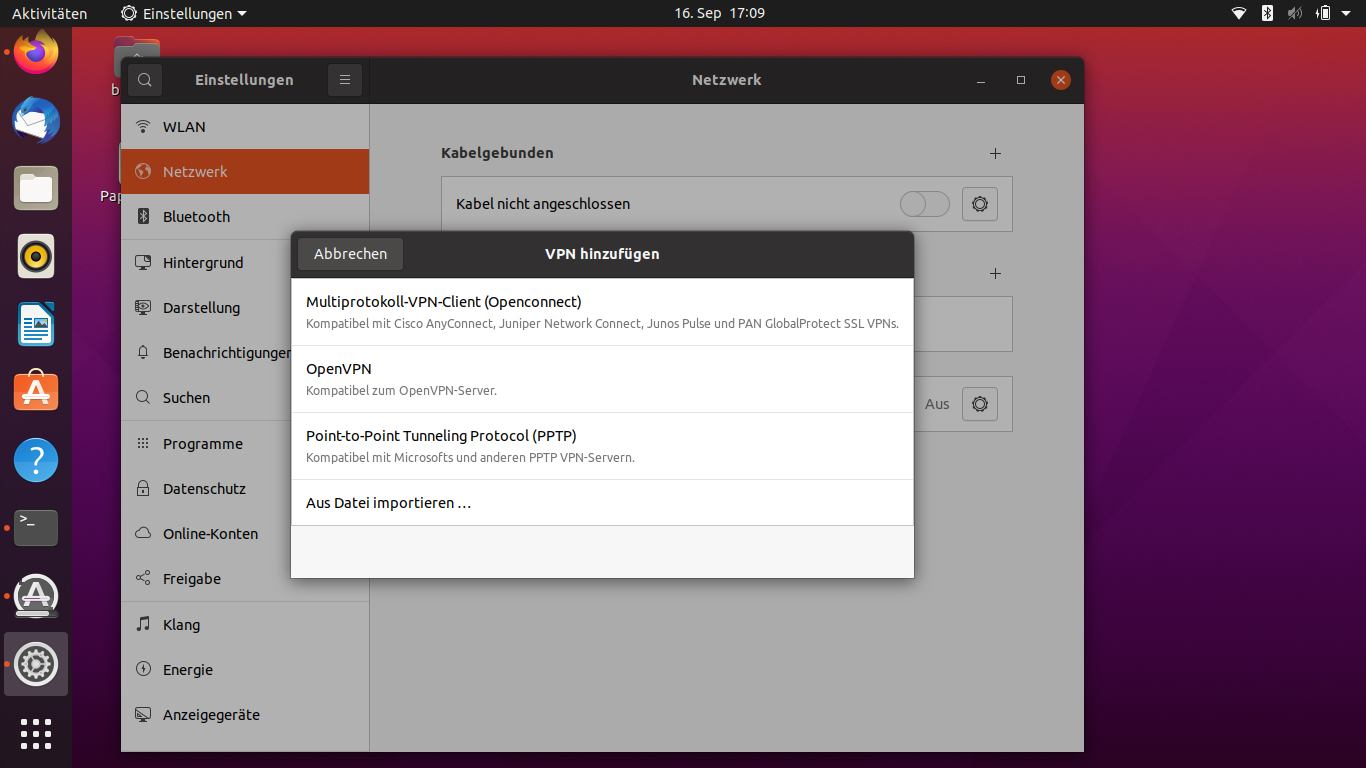
In the Settings (for Ubuntu) you will find a menu item "Network" on the left, here you will find the "VPN" section. New connections can be set up by clicking on the "+" button. Now select the item "Multiprotocol VPN Client (OpenConnect)", which was added by installing OpenConnect. 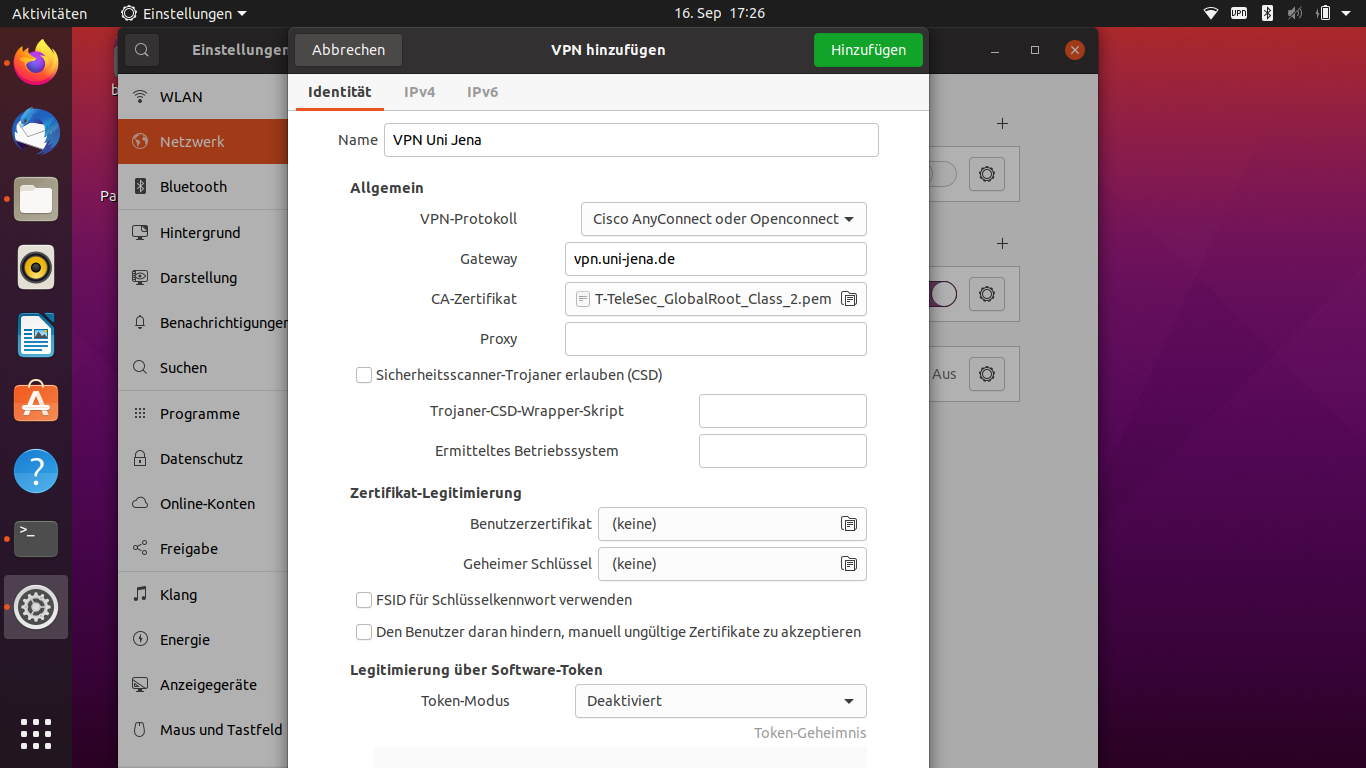 Image Modified Image Modified
(click to enlarge the picture)
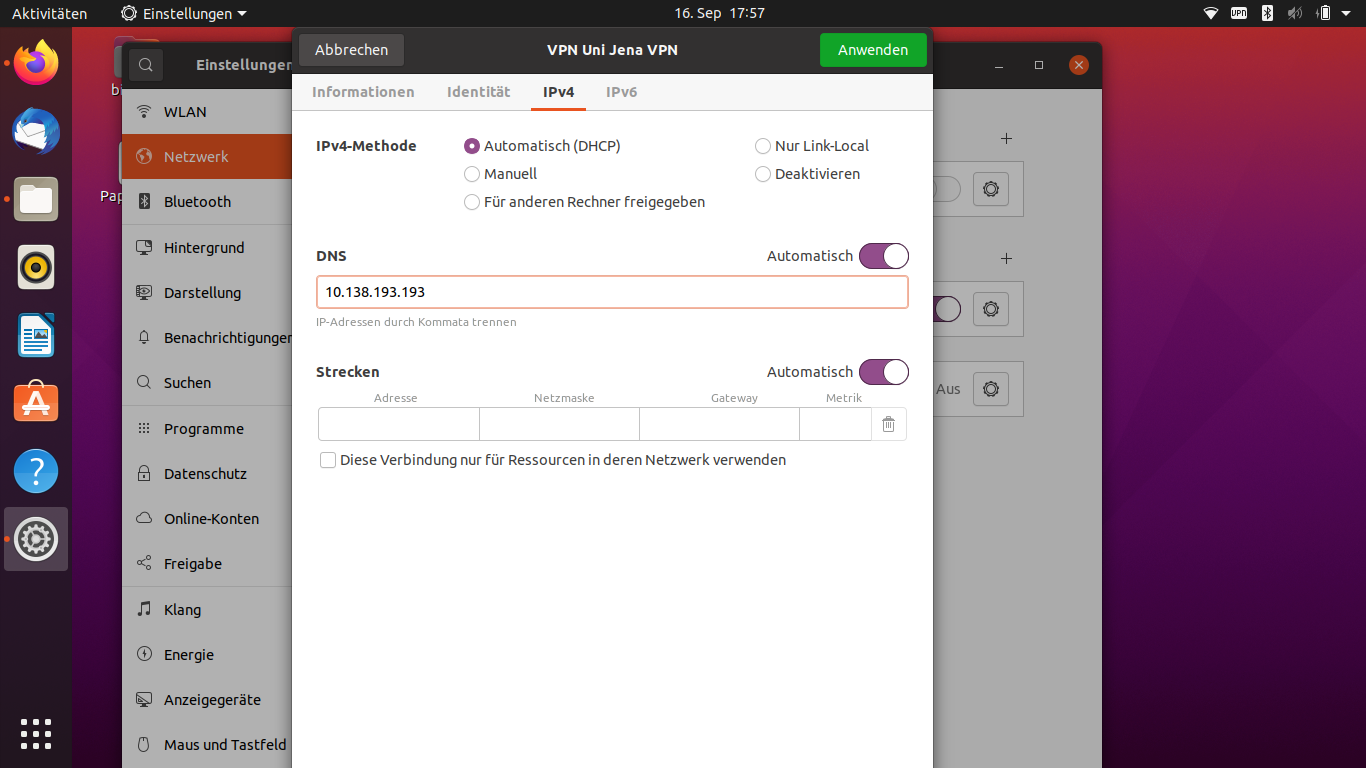
Afterwards, a name can be assigned for this VPN profile. Furthermore, the settings should be look like this: - VPN Protocol: Cisco AnyConnect oder OpenConnect
- Gateway: vpn.uni-jena.de
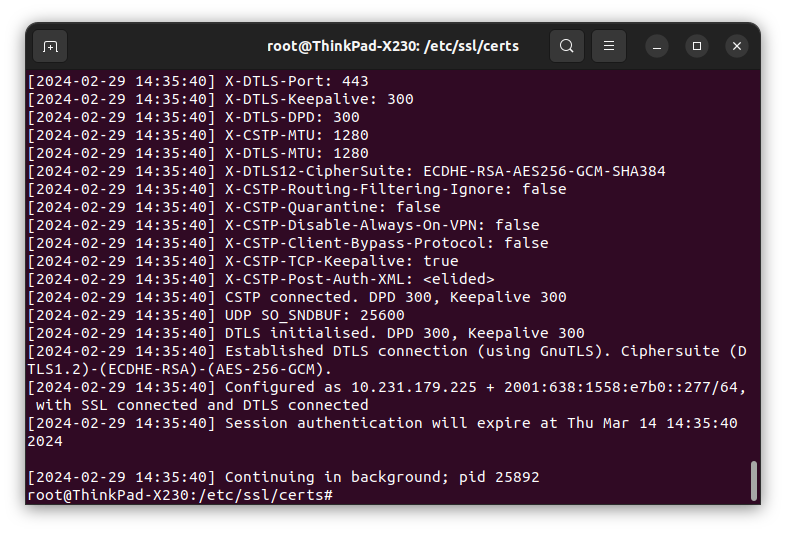
- CA Certificate: /etc/ssl/certs/T-TeleSec_GlobalRoot_Class_2.pem
If thecertificate cannot be foundin this storage location, it must be installed additionally by using the terminal. The commands for the installation are: sudo -i
cd /etc/ssl/certs
wget https://www.pki.dfn.de/fileadmin/PKI/zertifikate/T-TeleSec_GlobalRoot_Class_2.pem
(Execute commands line by line)  Image Modified Image Modified  Image Modified Image Modified
 Image Modified Image Modified
(click to enlarge the picture)
You can access the root directory "/"(comparable to hard disk C:\ on Windows) via the hard disk icon, which you can make visible via the small arrow to the left of the name of your user profile. The new VPN profile is saved by clicking on the "Add" button. 3. Step: Establish a VPN connection using the profile that has been set up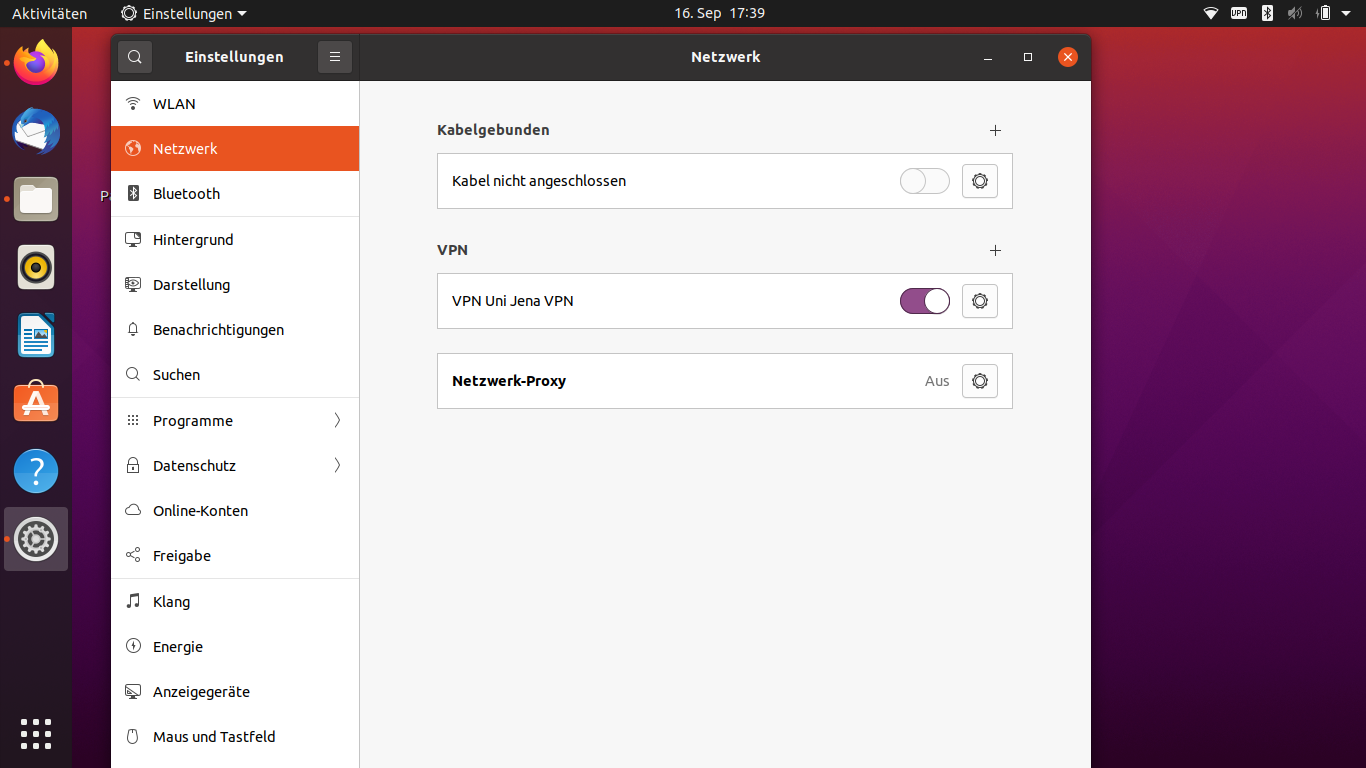 Image Modified Image Modified
(click to enlarge the picture)
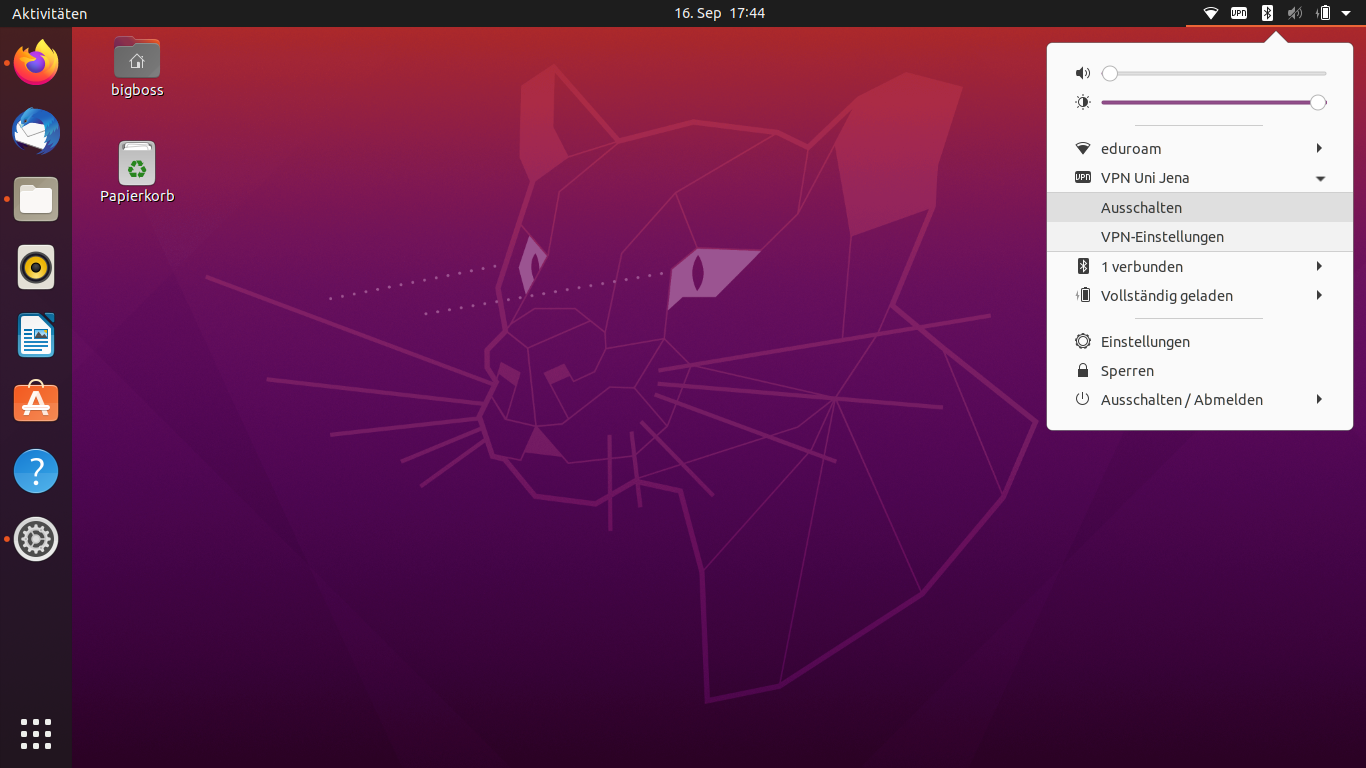
The profile recently setted up is displayed in the tab "Network" in "Settings". The VPN connection can there be established via the switch. 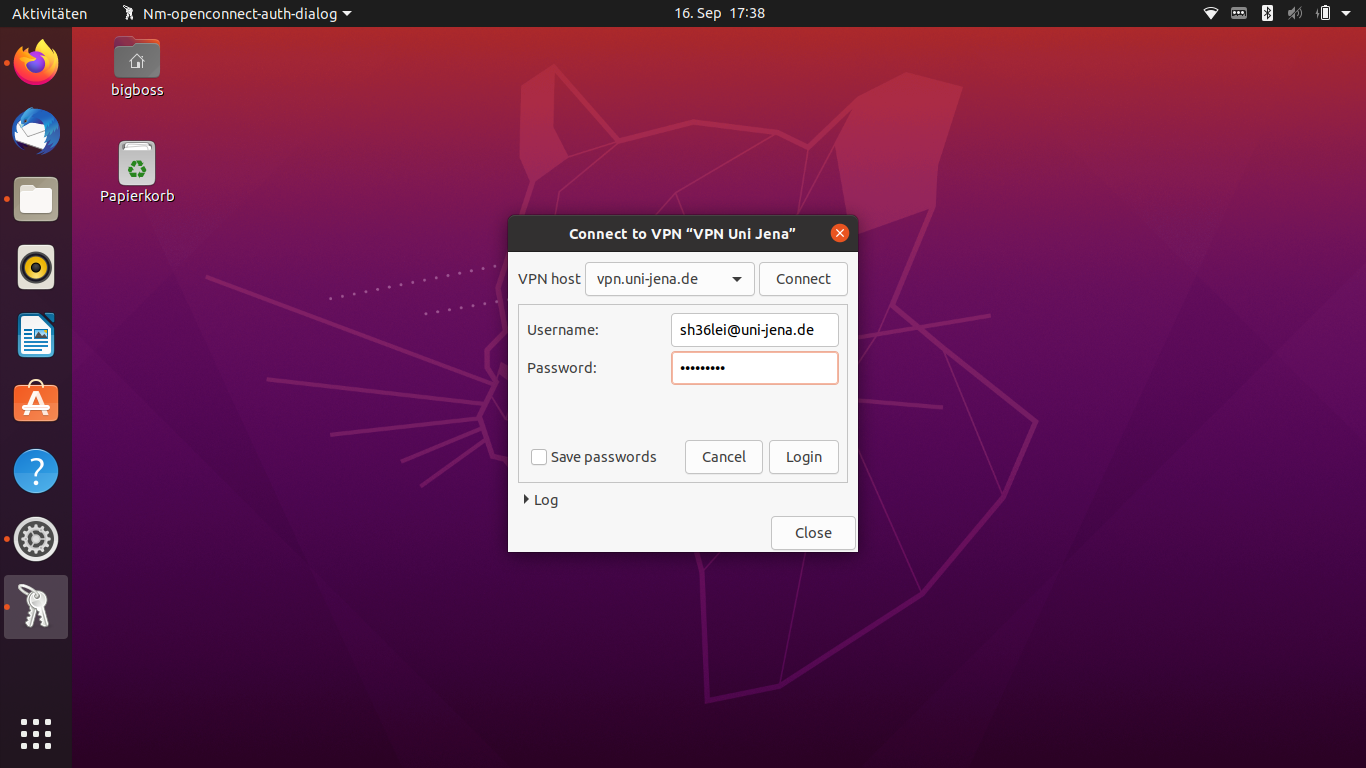 Image Modified Image Modified
(click to enlarge the picture)
Now you have configured the dial-in point of the University of Jena and the system asks for your username. Enter your URZ loginabbreviation and add " |