| Panel |
|---|
| borderColor | #d0d1d4 |
|---|
| borderStyle | solid |
|---|
| SummaryEstablish a VPN connection to the intranet of the University of Jena using Cisco AnyConnect on Android. |
| Panel |
|---|
| borderColor | #d0d1d4 |
|---|
| borderStyle | solid |
|---|
| This guide is aimed at the following target groups: - Students
- Teachers
- Employees
- Scientific employees and assistants
- Institutions and Commitees (e.g. student councils)
- Working groups (e.g. projects)
- Guests of the University of Jena
|
| Info |
|---|
Hint 1: The Android operating system is available in many versions on the market, which can differ slightly in their menu navigation and app compatibility depending on the smartphone manufacturer. For this reason, it is not possible to create a guide that fits all models on the market. It is also possible that you will not find a Cisco AnyConnect app compatible with your smartphone/tablet in the Google Play Store (or another app store) or that root rights are required for installation (which are usually not available when the device is delivered). |
Requirements- at least Android 5.1 (Lollipop), see the Release-Notes von Cisco
- an active user account of the University of Jena
- an App Store
- Internetconnection
On VPN - Zugang zum internen Universitätsnetz (uni-jena.de) you will find further information on the requirements and scope of services of the VPN service.
Installation and use of the VPN service1. Step: install VPN-Software
Please first download and install the Cisco AnyConnect Client from an app store (e.g. Google Play Store). You can find the application/app via the search function or directly by scanning the QR code. 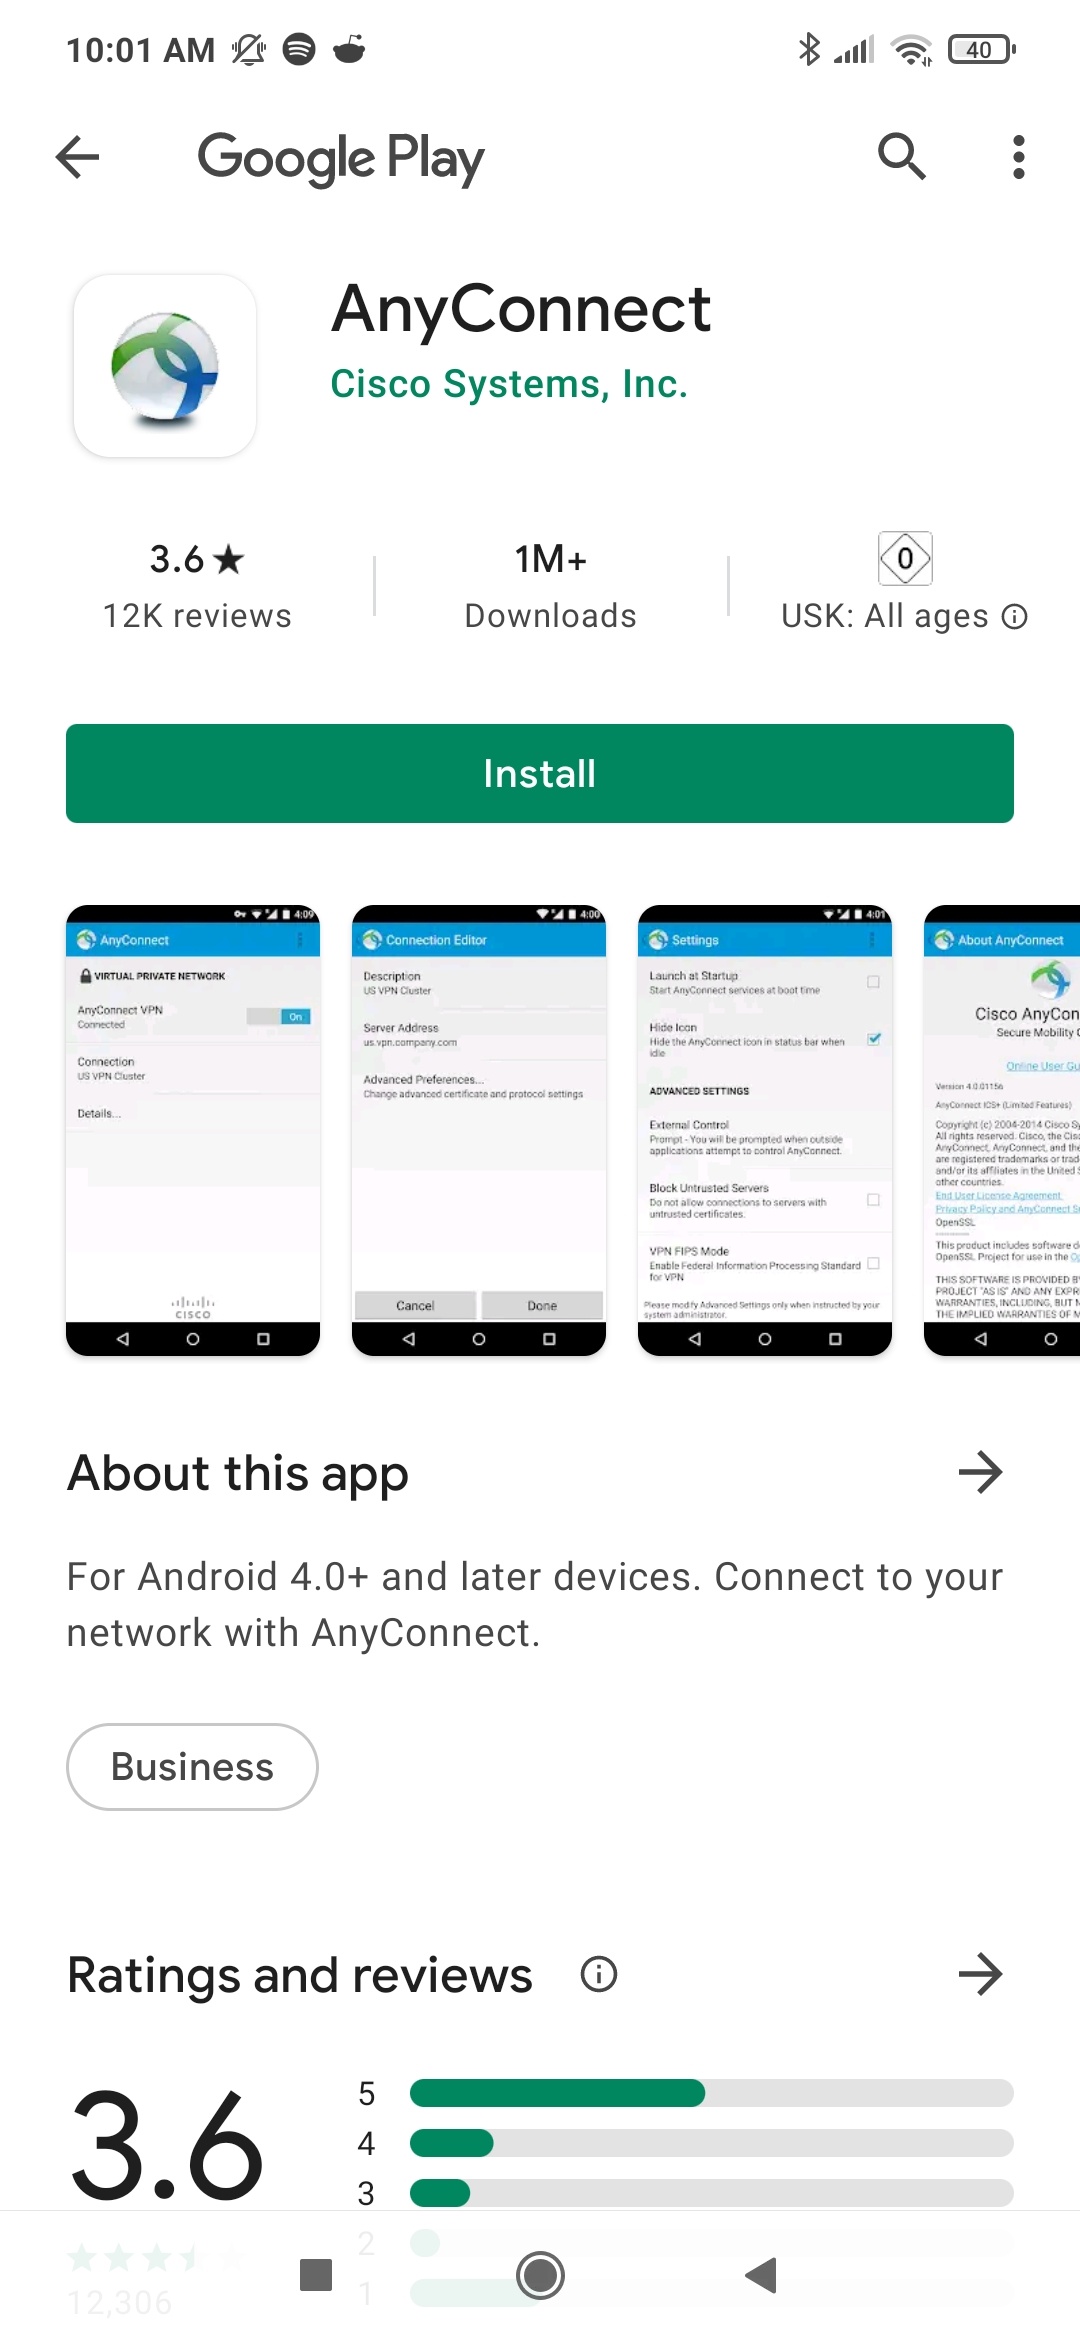
(click on the image to enlarge)
2. Step: Connect to the university network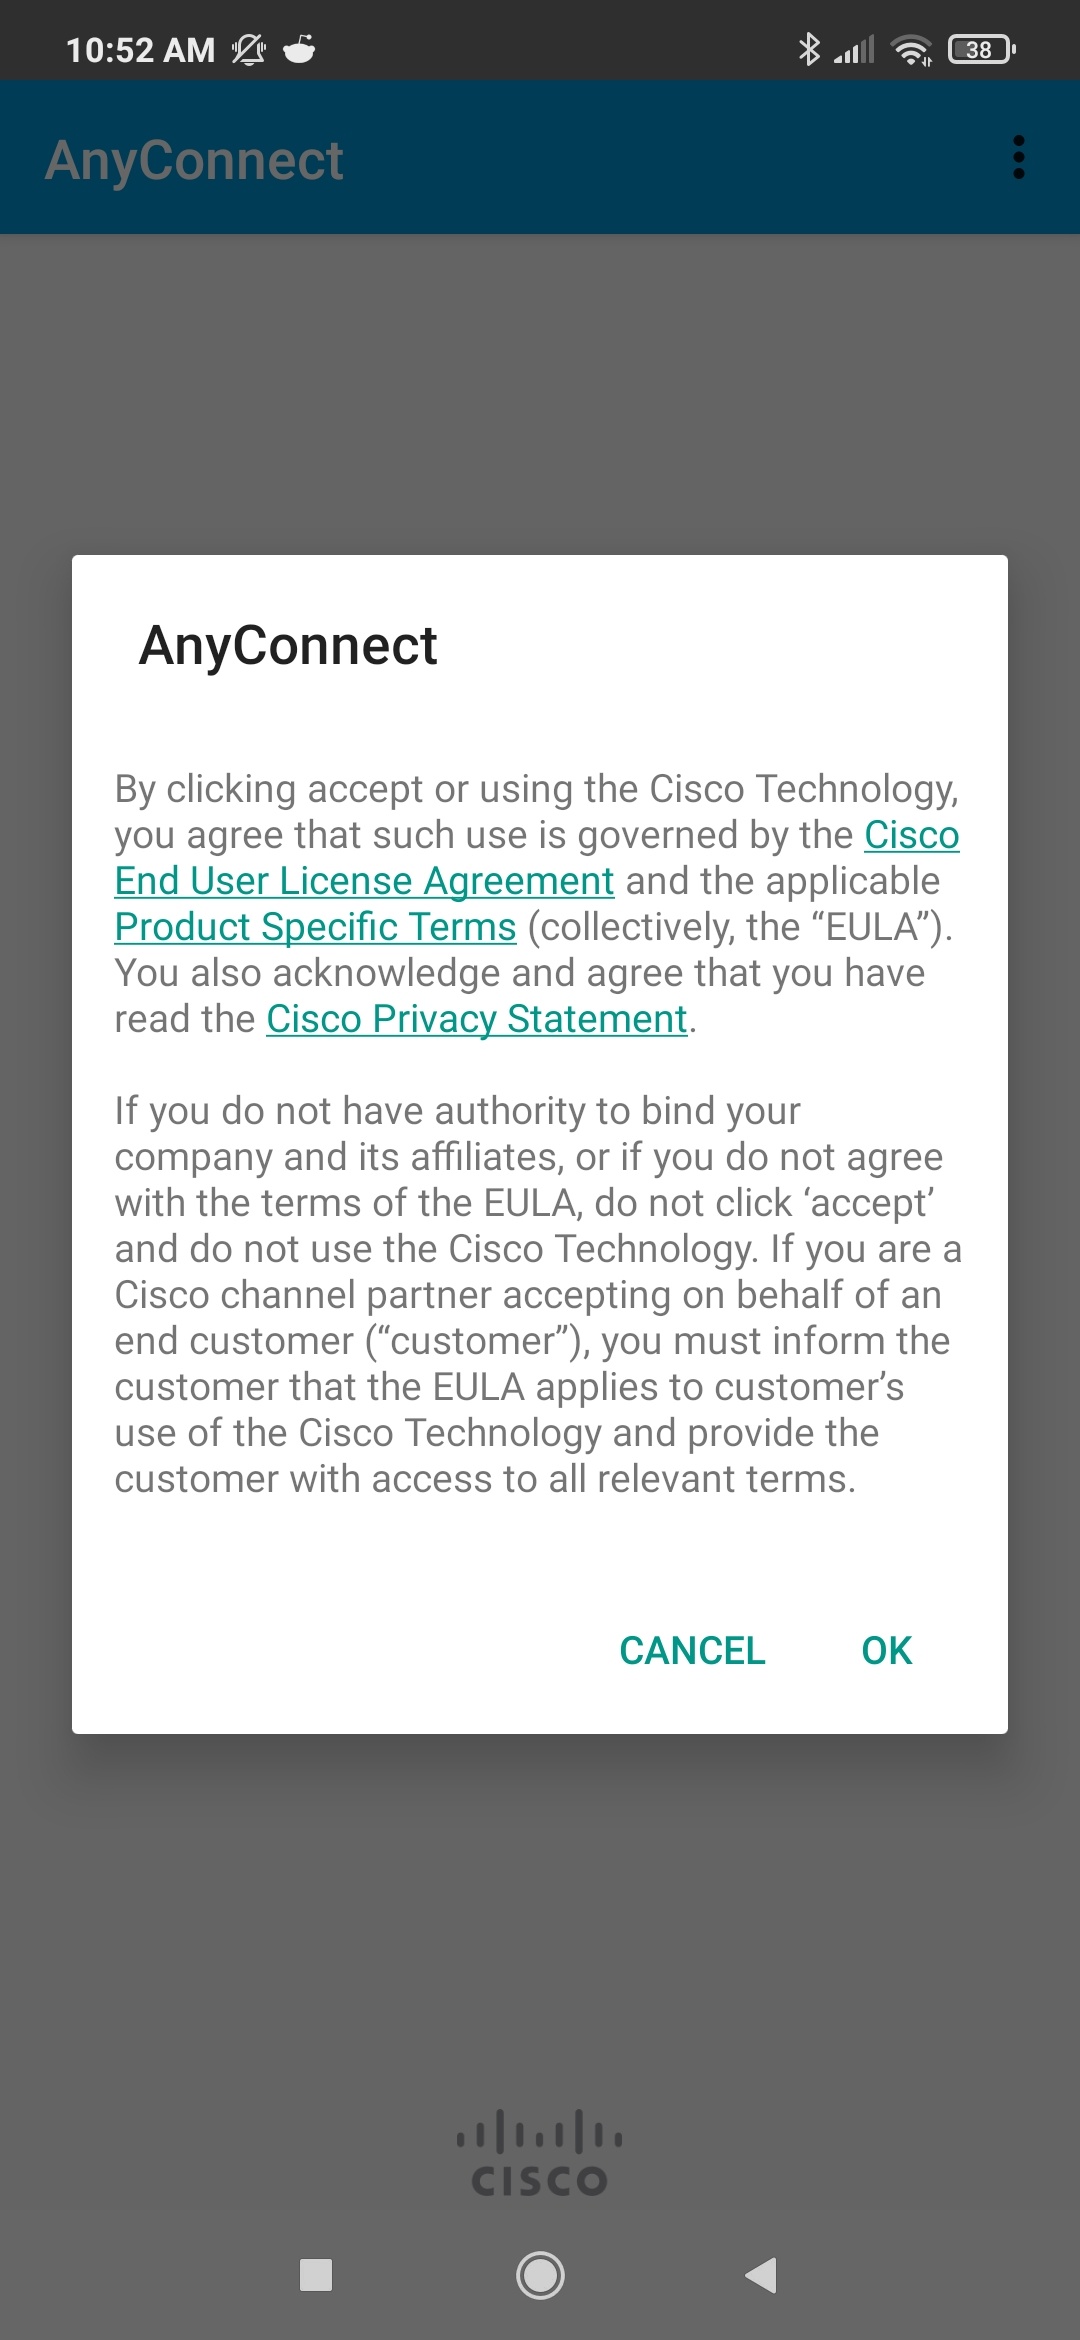
(click on the image to enlarge)
Accept the end user agreement. 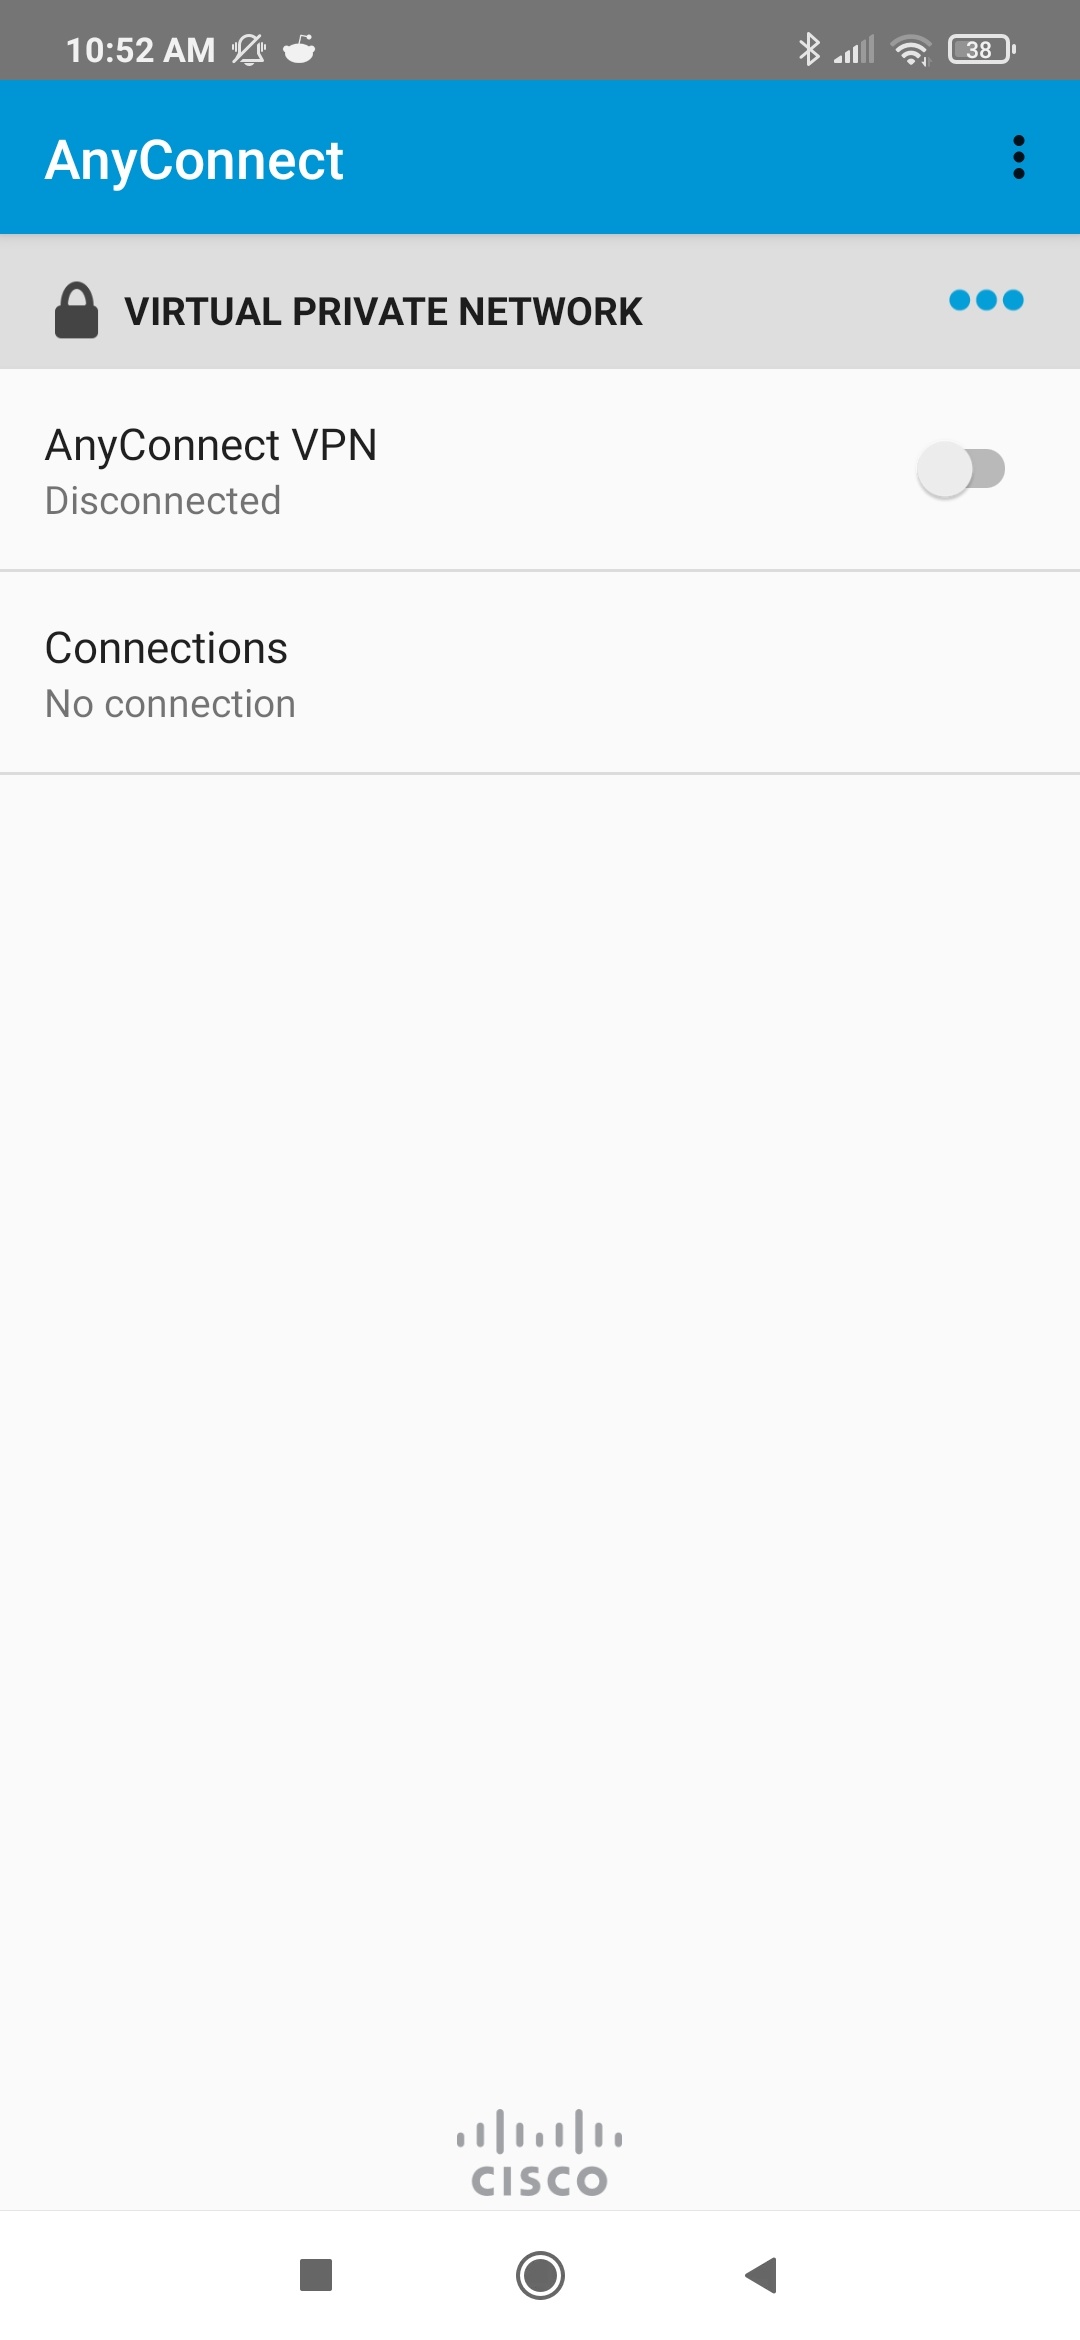 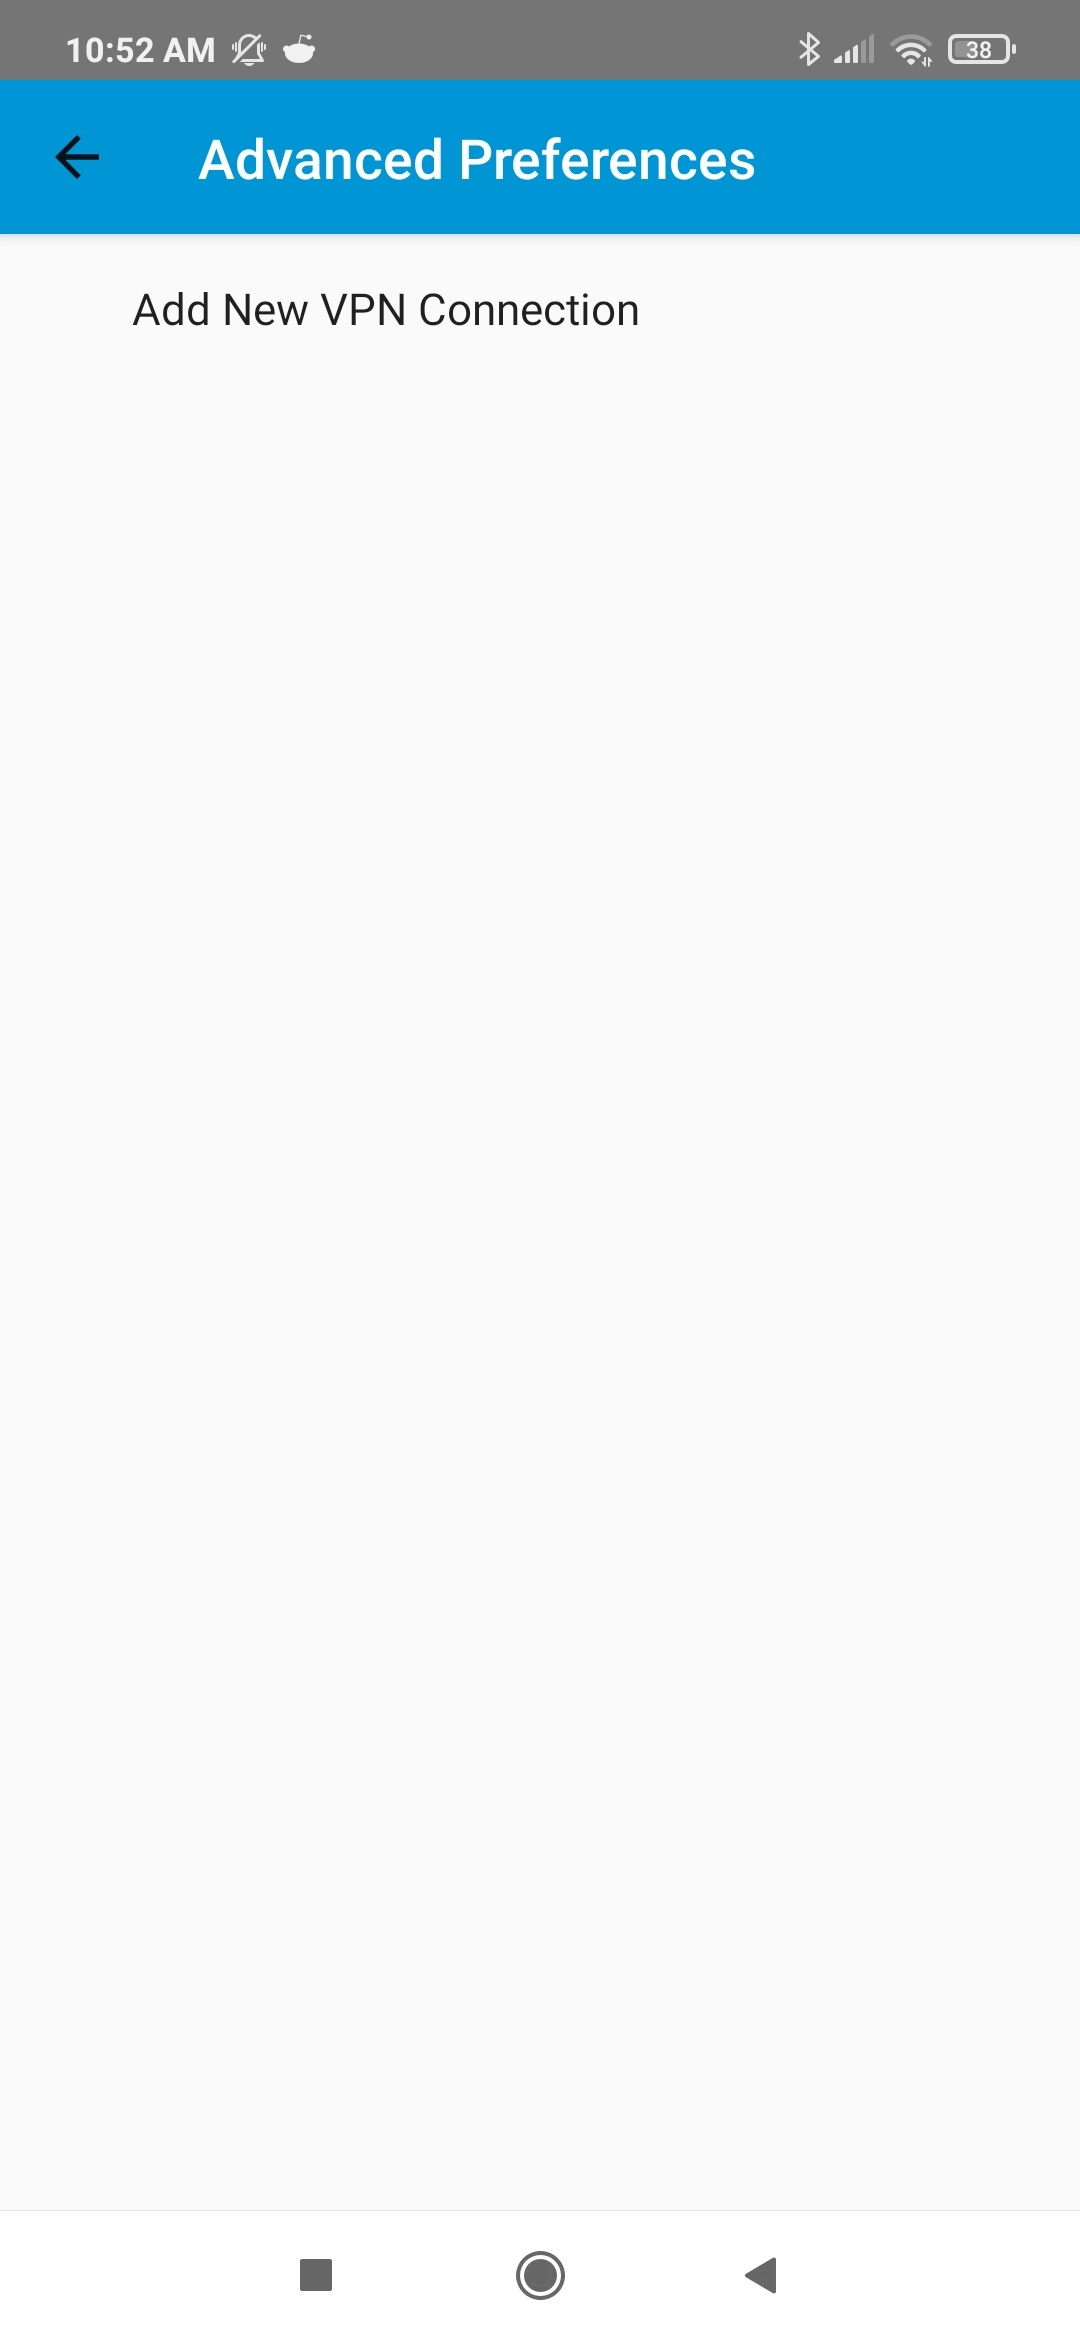
(click on the image to enlarge)
Click Connections, and then click Add New VPN Connection. 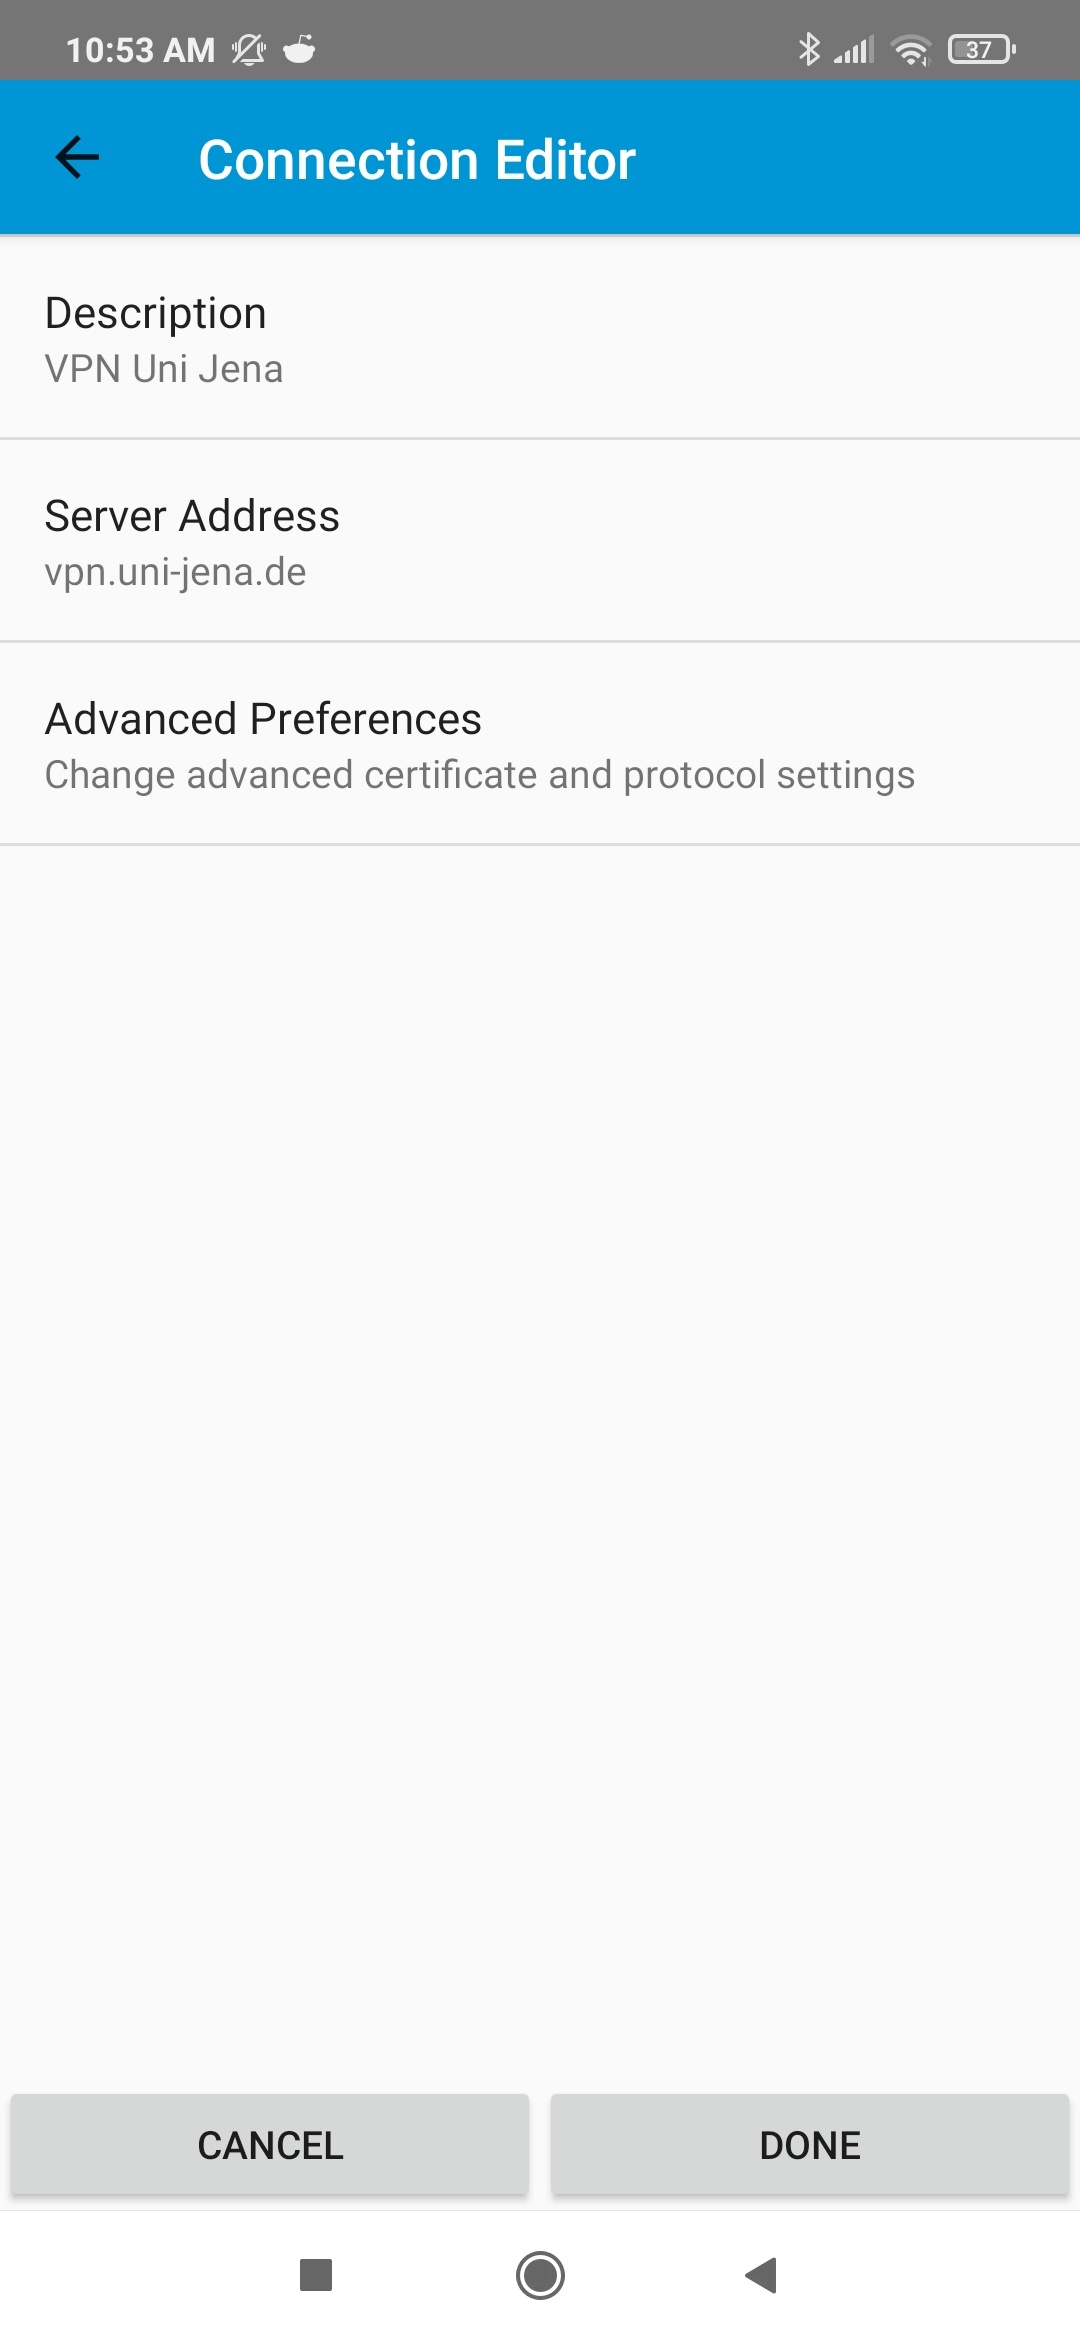
(click on the image to enlarge)
Please enter the following data for the connection by by tapping on the corresponding field: - Description/Beschreibung: Name of the VPN. This is freely selectable and only relevant for your internal system. We have named the connection "VPN Uni Jena" as an example.
- Server Adress/ Server Adresse: Address of the VPN network. Please enter "vpn.uni-jena.de" here.
Now click on "Advanced Preferences/Erweiterte Einstellungen".
(click on the image to enlarge)
Please check if the following menu items are set: - Cerificate/Zertifikat: must be set toAutomatic/Automatic.
- App Rules/App Regeln: are empty and not relevant.
- Connect with IPsec/ Verbinden mit IPsec: this setting must be disabled. So do not set a check mark.
Confirm the configuration with "Done/Fertig". 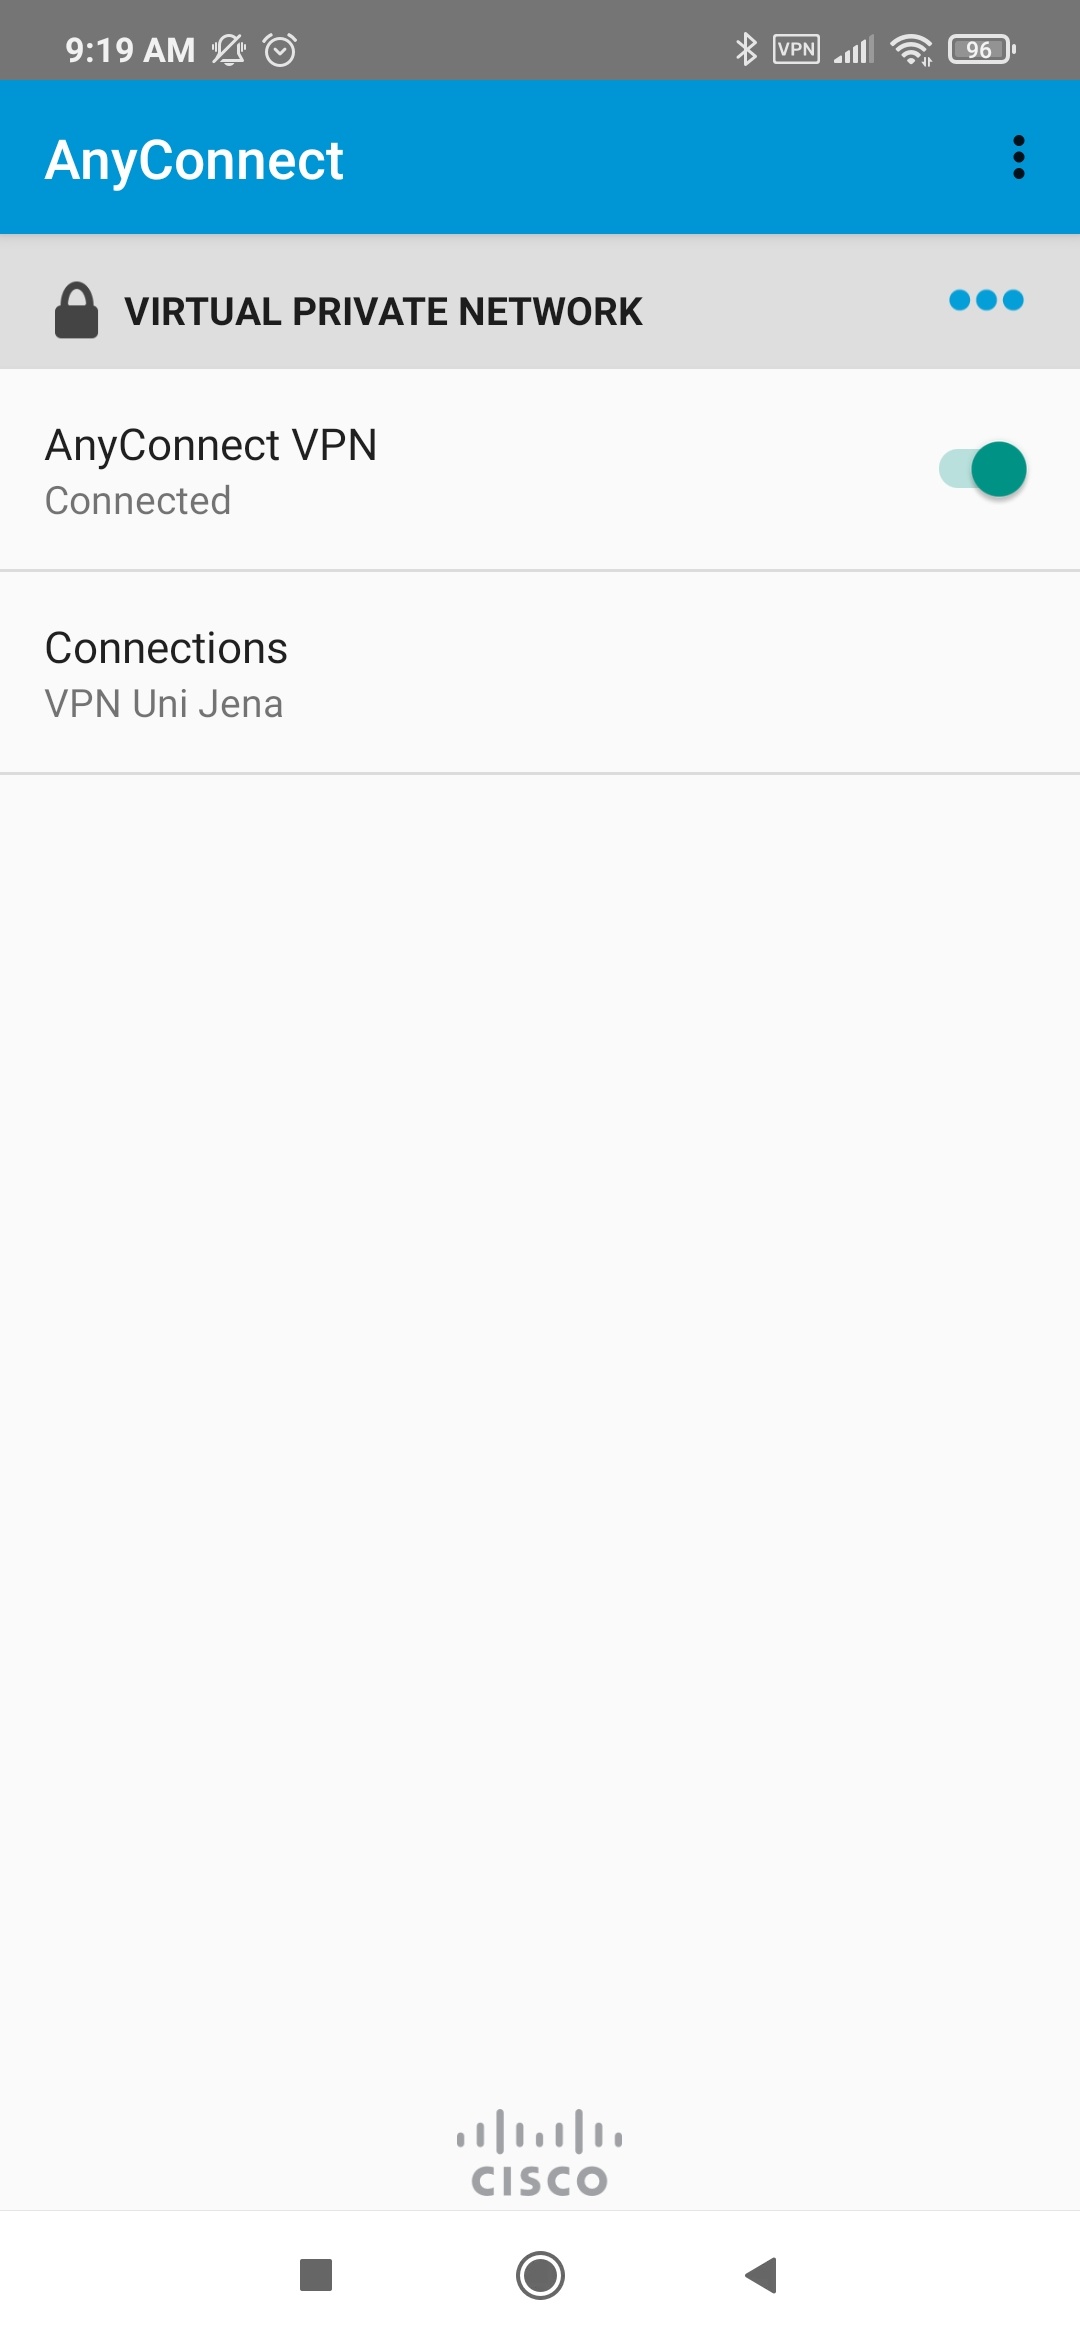
(click on the image to enlarge)
Activate the VPN connection by moving the slider to the right. 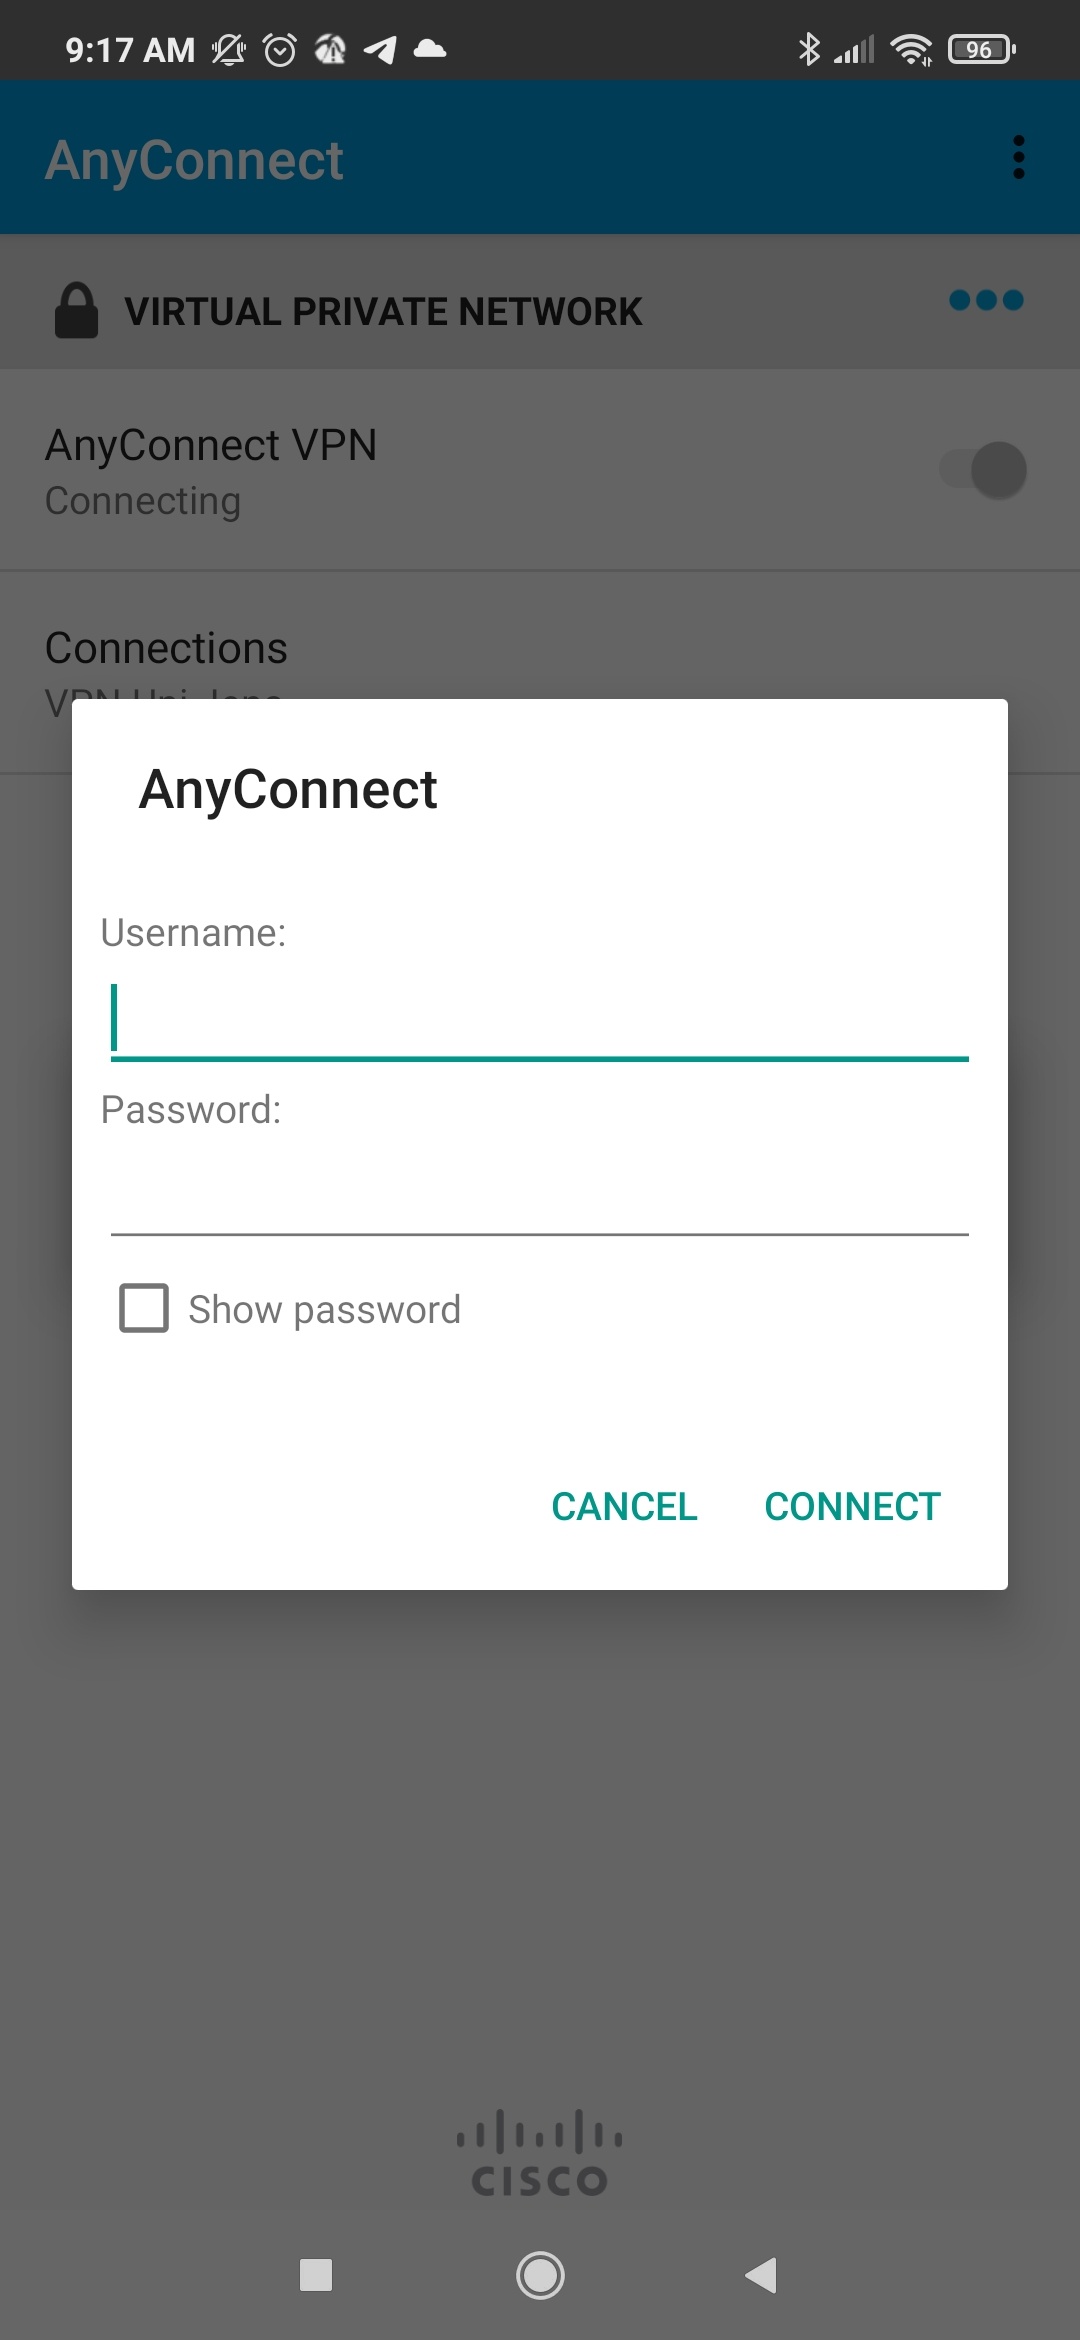 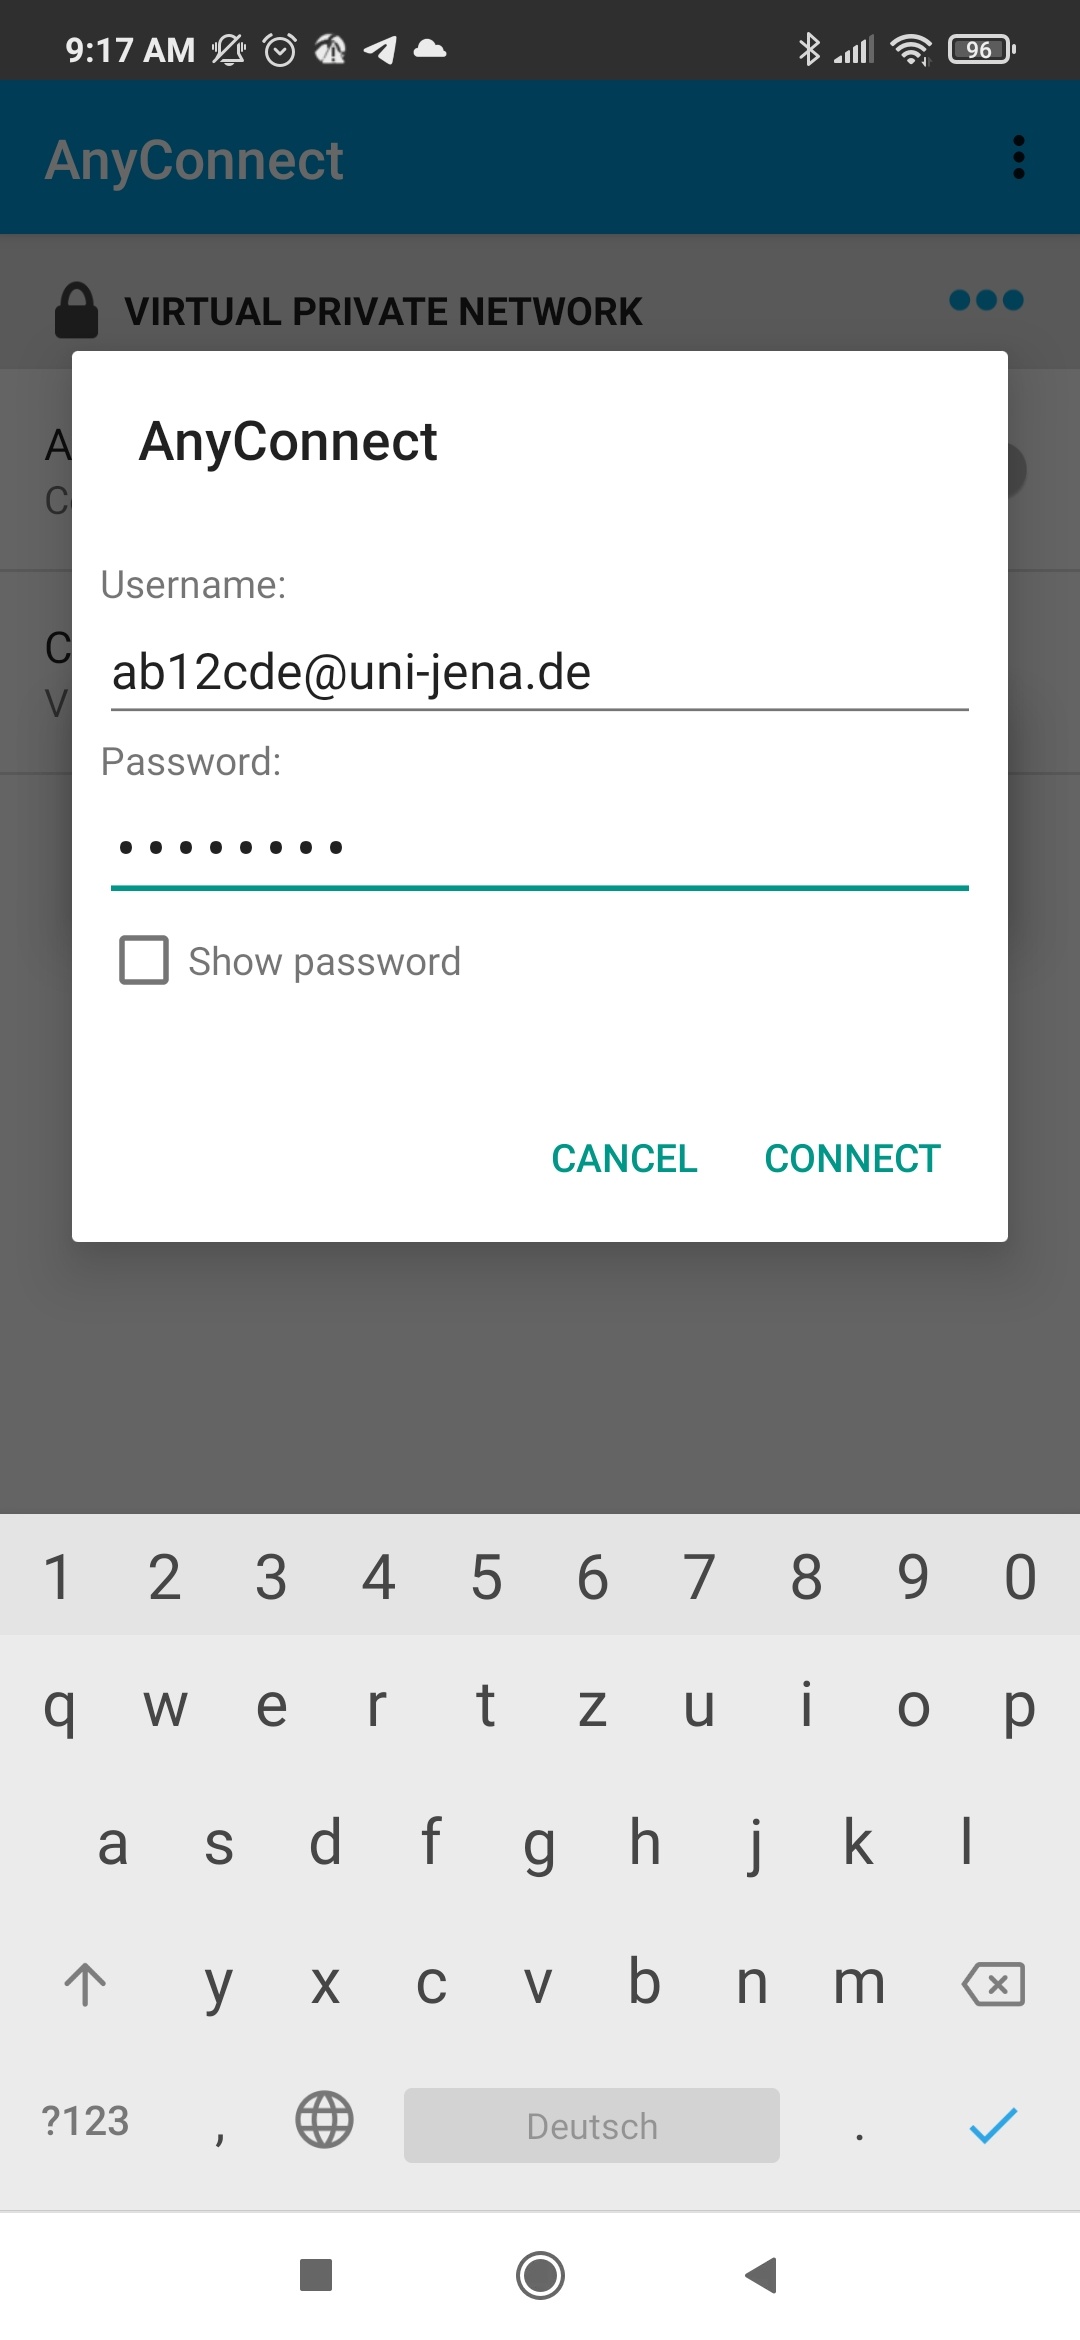
(click on the image to enlarge)
Enter the following in the window that pops up: - Username/Benutzer: Your FSU user ID, here exemplary "ab12cde@uni-jena.de". Not your E-Mail-Address!
- Password/Passwort: The password for your FSU account. (The same as e.g. for the portals Friedolin and Moodle).
| Panel |
|---|
| borderColor | #d0d1d4 |
|---|
| borderStyle | solid |
|---|
| TitelTitle: "Android - setting up VPN (Cisco AnyConnect)" Edited: 25.11.2021

|
|